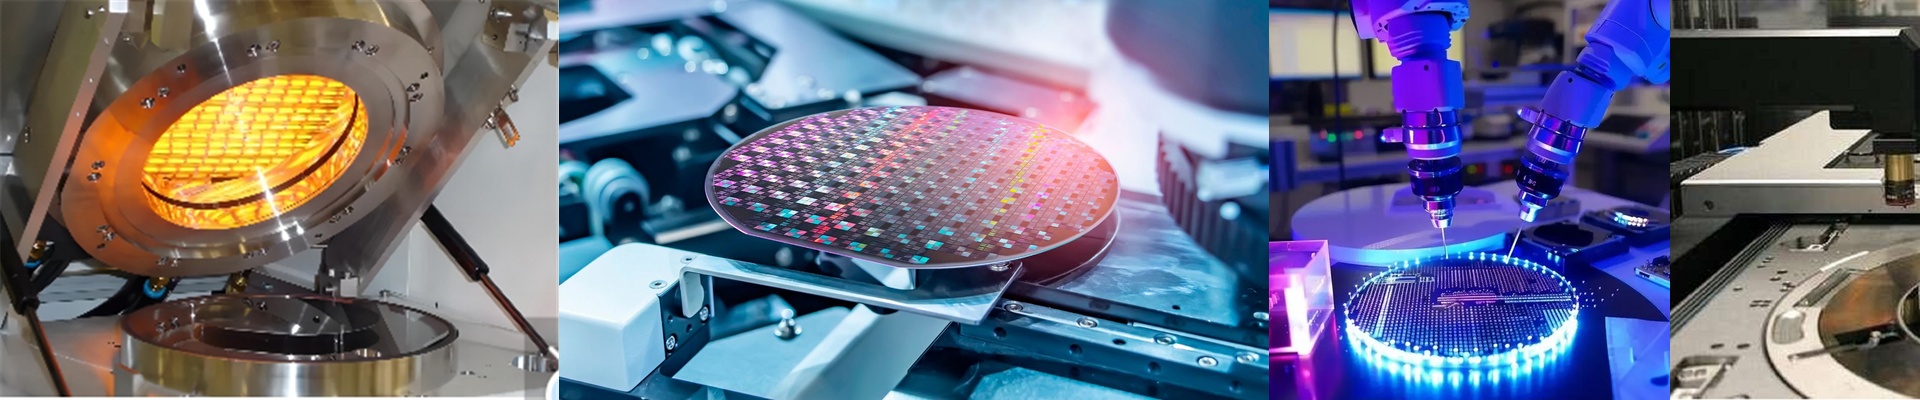
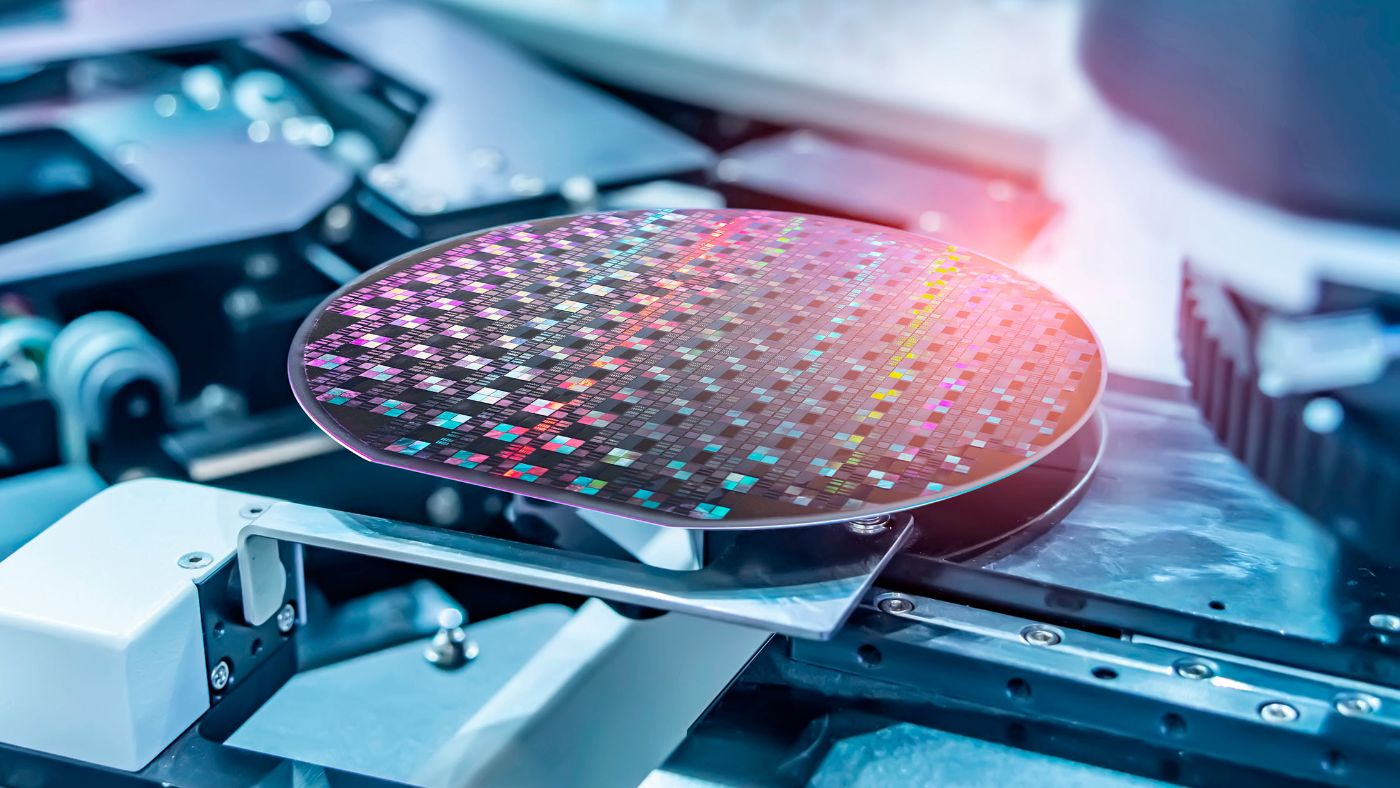
Out on the litho floor, the wafer comes off the rinse and hits the drying step. One hot spot, one temperature hiccup, and the photoresist pattern can fold. We built our MEMS wafer drying heater to stop that from happening—because in this business, you don’t get to make exceptions. What matters under the hood We run short-wave infrared with quartz-halogen emitters. That gives us fast, directional heat with minimal thermal lag. Temperature uniformity across the wafer is held at ±0.1°C, and setpoint repeatability stays within ±0.5°C, so every bake—soft bake and hard bake—tracks the recipe exactly. Cleanroom fit is baked into the design: passivated materials on the heater body, and an airflow path engineered for low particle shedding, so it holds up in Class 1–100 environments. The unit keeps output stable around the clock, with field data showing 5,000+ hours between routine maintenance and zero unplanned downtime tied to the heater. Why it plays in MEMS In MEMS, drying isn’t just about pulling water off. It’s about protecting feature integrity before exposure and after develop. This heater dries fast without overshoot, so the photoresist profile stays intact and rework drops. Tight thermal control also shrinks the thermal budget, which protects delicate films and tightens critical dimension control. The payoff is fewer defects, higher first-pass yield, and cycle times that stay consistent. And because the emitters are efficient and the heat is targeted, we end up wasting less heat in the chamber—so energy use goes down. What to plan for on install You need to match the tool’s mechanical envelope and coolant specs. We provide the dimensional drawings and interface pinouts, but it’s on you to verify coolant flow rate and inlet temperature—otherwise you risk overheating. The heater performs best when chamber pressure and gas composition stay within the specified window. During integration, run a short thermal soak-time qualification. It confirms uniformity and locks in the bake profile with your actual wafer stack.